Cherry Almond Traybakes

I have been re-watching older seasons of the Great British Baking Show. Some of the seasons, I remember who won and other seasons I hardly remember who the bakers were competing.

A traybake is a British term for a chewy cake that is baked in a flat tray or pan. The pan size in the US is usually a 9 x 13 inch pan. The traybake is cut into square and eaten by the family or friends in a casual setting. Many traybakes are not iced but some are iced. My mother always baked all of her cakes in a 9×13 pan. Technically, I was brought up on traybakes. As a child, I thought that round layer cakes were so fancy!

As a kid, my favorite cake was the Poorman’s cake. This depression cake did not have milk, butter or eggs. I loved that raisins that was plump and moist in the cake. The top of our poorman’s cake was dusted with powdered sugar. I need to bake this recipe.

Black cherries are in season. I love black cherries. I bought some at the local supermarket at their very good sale price. When I looked at the cherries at home, I realized that they were very small. I looked in Mary Berry’s Baking Bible for a traybake recipe. Mary Berry has several cake recipes that require cherries. Most of Mary’s recipes call for glacé cherries. According to the internet, glacé cherries are preserved with Maraschino liquor, aka maraschino cherries. I am not a fan of the chewy texture of maraschino cherries. This cherry almond traybake recipe said that you could substitute fresh cherries for the glacé cherries. Score!

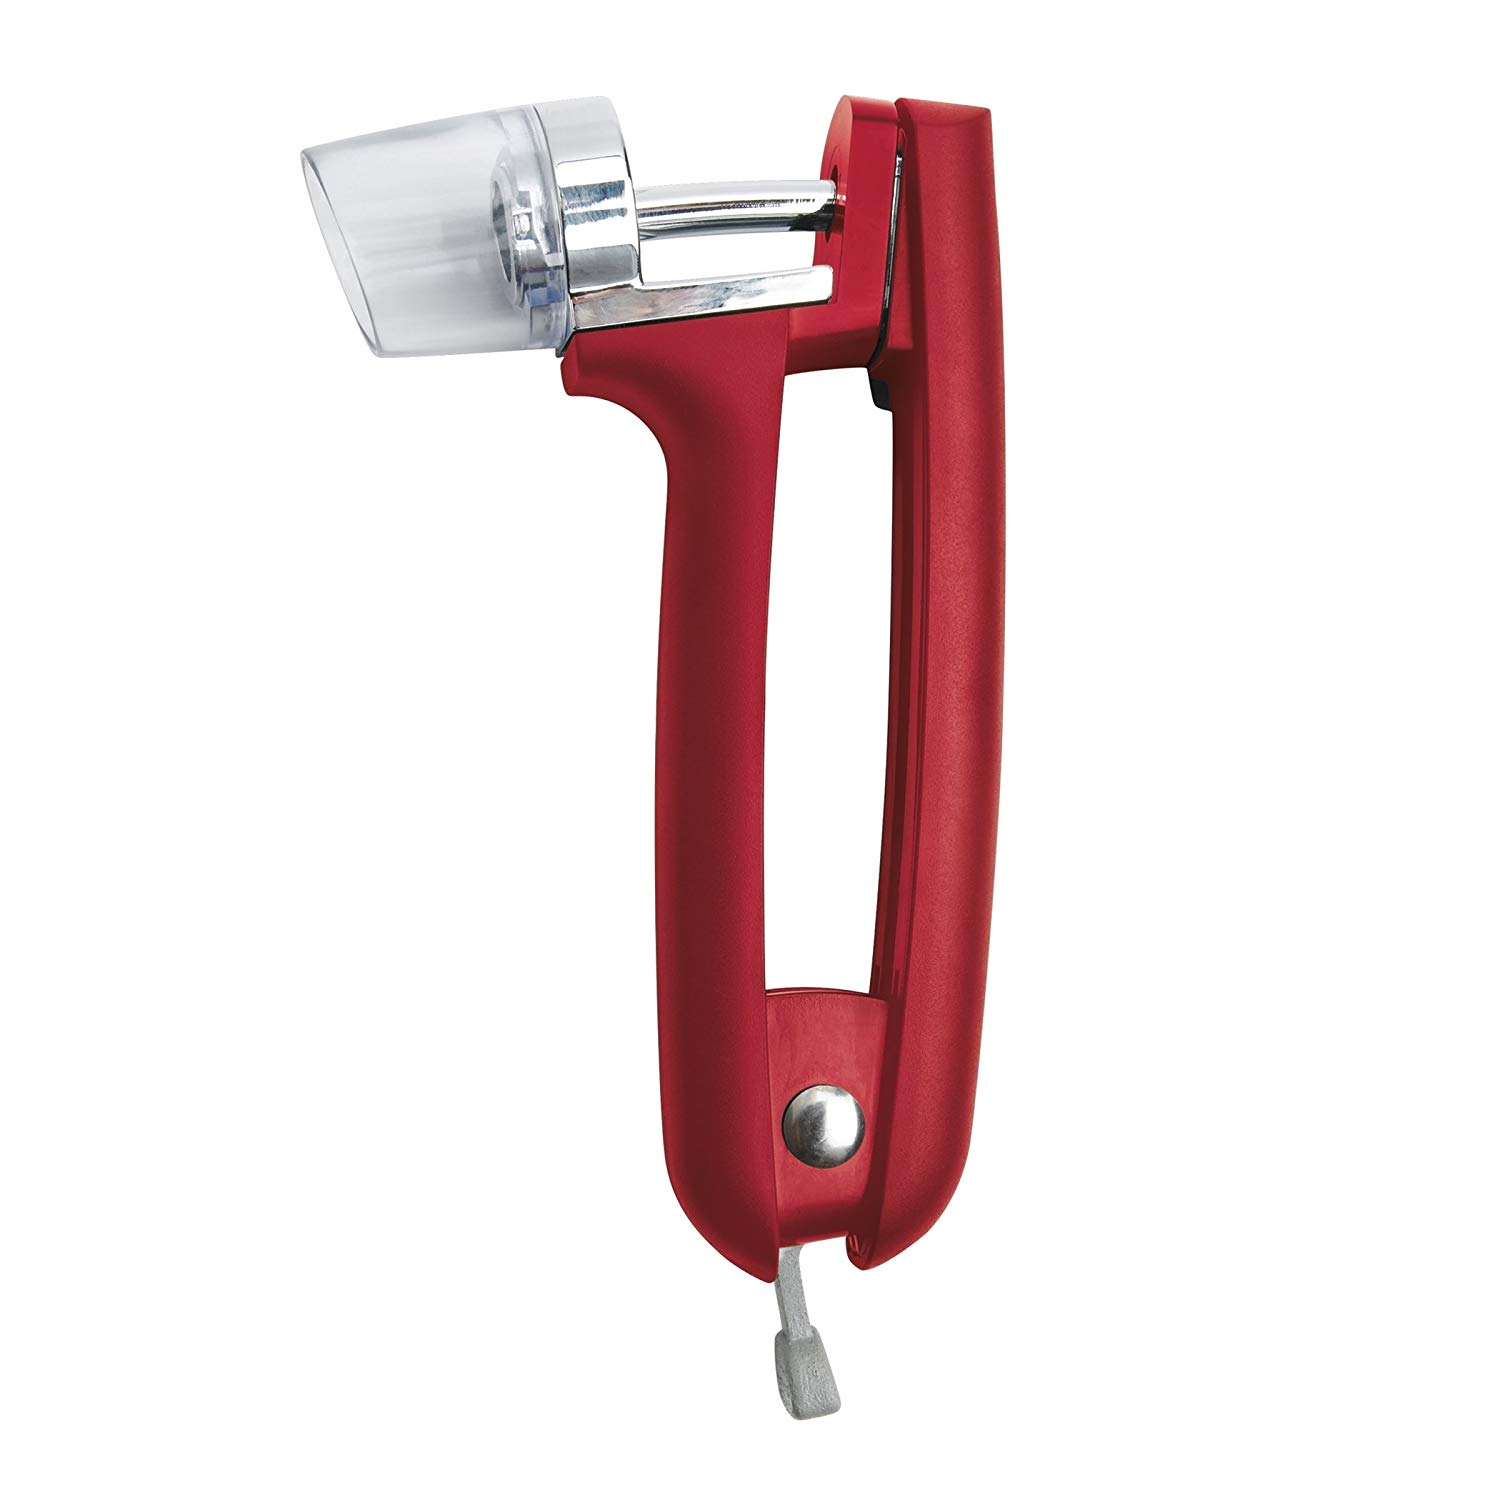
I needed one pound of stoned fresh cherries. Fortunately, I bought a little tool that stones cherries and olives. This little tool has been a great gadget for my baking. You pop the cherry in the round hole and push the pit/stone out the other end. Remove the stoned cherry. Repeat. I would never bake a recipe with fresh cherries if I didn’t have this gadget.

All of Mary Berry’s recipes are in metric weights. The oven temperatures are written in Celsius temperatures and something called Fan. I refer to the conversion chart in the book all the time. I should print it out and keep it with my print cookbooks.

Mary uses self rising flour. I bought a bag of the flour and when I didn’t have quite enough I googled self rising flour. I found out that self rising flour is just all purpose flour, baking powder and some salt. I mixed up some and stored the remainder for future baking. If you do this, please remember to label the flour as self-rising. If you use this instead of plain all purpose flour, your cake will taste salty.

I love that this recipe is mixed all in one bowl.

My cherry almond traybake turned out nicely. I forgot to toss the cherries with flour prior to baking. The cherries all sunk to the bottom. Oh, well. They didn’t look great but it tasted good.

I started this post before I went on vacation. It now is hot and humid. I haven’t baked much in an effort to keep the kitchen cool. I have bake a lemon drizzle tray bake by Mary Berry. It was a fun and easy cake recipe. Many traybakes are mixed all at one time in one bowl. This was how my mother baked all her cakes. My embroidery guild group always love this cake.

Currently in my oven is a peach blueberry cobbler. I had some peaches that were ripe but they had a mealy texture. I am a big texture person. I hate mealy textured fruit. Since I was baking half a recipe, I needed 3 peaches. I only had two so I added blueberries. I write about this in my next blog. If there is an other blog post Ha Ha!

Clean out the Cupboard Loaf

I haven’t baked bread in over a month. I just didn’t feel well enough to bake. I thought that today is the day! Great. I measured out my buckwheat groats and water. I set the pot on the stove to cook away.

And cook away it did. I forgot to turn down the heat. I didn’t remember that I was cooking the buckwheat groats until 30 minutes later! I had smoke billowing in the kitchen. I opened the windows just in time for the smoke alarm to go off.

Next plan. I boiled some water and soaked some quinoa. That would be good in the bread.

I thought that today would be a good day to use all the odd bits of flour in the cupboard. I weighed out the kamut flour. I had 20 grams more flour than I needed. I subtracted the 20 grams from the total weight of the organic bread flour. I was short by 30 grams on the bread flour. Let’s see. I have some rye flour that needs to be used up. Add that to the total flour mix.

I added all the dry ingredients to the mixer and then added water to make up the dough. After the dough was mixing for a while, I realized that I forgot to add the quinoa! In went the quinoa. Now the dough looked tackier than usual. Out comes the whole wheat flour. I added about 20 grams of the whole wheat flour.

To recap, the dry mix is organic bread flour, kamut flour, rye flour and whole wheat flour and quinoa is my cooked grain. I love quinoa in bread. The dough is nice and supple. I am giving it a 20 minute stretch and fold.

The first rise time only took 90 minutes in the proofing box. The box maintains a nice even temperature of 80 degrees. With the ambient room temperature warmer, the bread rose faster than in the winter when my kitchen ambient temperature is much lower.

For my second proofing and shaping, I like to proof my free standing loaves in a banneton. I like the even ridges and a round loaf of bread that the banneton gives a proofed dough. What I am learning is that these baskets work well with a drier standard dough like the lean French bread doughs. My bread spread this time. It was too wet to maintain a good free form shape. I think that the industry term for this is that the bread flowed.

The loaf had a fairly good oven spring. The cuts opened nicely while baking. I got a nice golden color on the loaf. I did not get a high rise in the center of the loaf. It flowed. The crumb was good but a little dense. It could have used another 5-10 minutes in the oven. The flavor was good. The sourdough starter give an extra layer of flavor to the bread.

Lessons Learned

1. I need to bake weekly to maintain my bread baking skills. I felt like such a rookie. It took me a while to remember the steps for my bread making.

2. Proofing time for the bread is much shorter in the summer months due to an increased ambient temperature of the kitchen. This is good for time management.

3. I need to increase the baking time by another 5 minutes to produce a better loaf of bread

4. Wetter doughs need to be baked in a loaf pan. As I continue on this baking journey, I will need to pay more attention to my baker’s ratio to produce a little wet dough if I want to bake a free standing loaf.

5. I will continue to check the temperature of the dry ingredients. By checking the temperature of the dry ingredients and warming the water, I have a dough that is now 80F degrees after it is mixed prior to the stretch and folds.

Baking with Children

My grand daughters love to bake and cook. The oldest, Miss M, has been cooking dinners out of her children’s basis cookbook for around a year now. Miss M likes to cook so much that her very savy auntie gave her a child’s ceremic knife as a Christmas gift. Both Miss M and Miss G like to bake. Both girls love macarons. This sounds like the best excuse to teach the girls some good basic baking techniques.

I started out by first teaching the girls how to bake Madeline’s. The girls practiced weighing out the ingredients. They didn’t have the patience to completely cream the butter but the Madelines baked up tasty.

I asked Miss M and Miss G if they would like to learn how to bake macarons. I first learned how to bake macarons from Colette Christian’s Craftsy class, Miniature French Pasteries. The shells in my first batch were a little puffy but tasty. I have baked about 4 additional batches with the shells improving with each try.

Miss M and Miss G wanted to fill the macarons with two different fillings but we baked the basic vanilla shell. Both girls watched Colette Christian’s French pastry class lesson on macarons. They weighed out the ingredients carefully. They loved that the kitchen scale would calculate the ingredients down to .10 of a gram.

We mixed the ingredients according to Colette.

Miss M did a great job at smoothing the macaron mixture along the sides of the bowl. This technique is repeated until the mixture begins to just slide down the sides of the bowl. When you have your tongue out for balance, you are really concentrating on the new task.

Miss M liked to pipe the shells onto the parchment paper.

I don’t have a picture of the girls “banging” the pans to reduce the air from the shells. Miss G really liked doing this step. It took some patience for the girls to wait until the shell cured in the refrigerator.

We filled half of the macarons with a white chocolate mango filling. The second half of macarons were filled with a white chocolate strawberry filling. The strawberry filling was not as thick as the mango filling. I think I added too much mashed fresh strawberries.

The girls were very happy with the end results; yummy macarons.

These were the best macarons I have baked to date. The shells were crisp on the outside with a slight chew on the inside. I tried to convince the girls that less filling is best.

Lessons Learned

  1. Baking with children is a good deal of work but so satisfying. The girls really absorbed the learning experience.
  2. Learning the skill of weighing all the ingredients accurately is an important skill to teach to young bakers. The girls liked how precise they could get with the kitchen scale
  3. Ask your child what they want to bake. This raises their self esteem and it heightens your chances of a successful baking experience. Miss G said that she likes to bake “fancy” things.
  4. Never underestimate the skills of a motivated child. Miss G learned to pip Italian meringue two years ago. The meringue was not as fancy as if I piped it but she was so very proud of her results. To me this is the most important part of baking with children.
  5. Last, don’t discount all the math skills that children learn while baking. There is a lot of math and science involved in baking. This is a practical way to teach basic skills to children. My oldest daughter would calculate the differences in a recipe between a full and half recipe with no complaints. She learned a good bit of math during her time cooking in the kitchen.
  6. Colette Christian’s pastry classes on Craftsy, now Bluprint are great classes. Colette teaches you how to make the pastries plus the science behind some of the bakes. Colette’s class 25 Essential Baking Techniques is a must watch class for any baker.

April was a tough month

This post is all about health and getting back to my level of wellness again. April was a jam packed month. I knew that I needed to pace myself to get through the month. I tried to pace myself and take care of myself during the month but it didn’t work very well.

I started volunteering at Winterthur for the current special exhibit Costuming The Crown. I love all things fiber arts. I especially love costume exhibits. I am volunteering about once a week for 3 hours talking with the visitors to the exhibit. I interact with the visitors giving them some background information about the costumes while watching that the costumes are not touched or disturbed. That was one item that started in April. I worked two shifts and then attended the volunteer orientation. Check that one off the list.

My embroidery guild chapter meet once every four months for a lecture and general meeting. I am on the board so I attended the board meeting the week before the chapter program. My “job” at the Brandywine EGA chapter is that I represent our group at the regional level. The Regional meeting is only twice a year. When was the spring meeting? You got it. April.

Then we come up to Easter. Our family gathers at my mother in laws home for a family meal. We are not religious so it is just a joyous occasion to get together and visit. Again. April.

Then I started having some moderate to severe back pain. I was following up with an orthopedic doctor and I started physical therapy. Again, April.

I signed up in January for a conference to learn more about my Adrenal Insufficiency. I was dreading flying to Charlotte North Carolina. Air travel really takes a toll on me. I learned a lot of good information about living with adrenal insufficiency.

I woke up last Sunday in the hotel at 4 am. I was sweating and nauseous and I knew that I was going into an adrenal crisis. Adrenal crisis can be mild and treated easily with an extra dose of my daily medication. Or it can be life threatening. I took extra daily doses of my steroid and felt ok. I boarded my plane home, had dinner and went to bed.

The next day I felt worse. I contacted my endocrine doctor and made a plan. It took a lot of steroids to get my crisis under control. In hindsight, I should have gone to the ER Monday for IV steroids. Since I am a nurse practitioner, I am always afraid that I am over diagnosing myself. I am actually under diagnosing myself.

This is the end of the week of large doses of steroids. I am back to my daily dose plus a little extra until I see my endocrinologist next week. I felt so awful that I could not concentrate to meditate. I was so tired but I could not sleep more than 90 minutes and then be wide awake. At the same time, I was still having awful symptoms of adrenal crisis until Wednesday.  I realize now that the month of April was very stressful and that the accumulation of the stress pushed me into a crisis. I didn’t even want to bake!

Lessons Learned.

I need to make a clear written plan with my endocrinologist about what to do when I have a crisis.

I need to communicate the plan to my husband. I need to tell him to inform me when I look “bad”.

I want a plan on how to manage to exercise and control my adrenal insufficiency. All the extra walking really helped to push me over the edge.

Next up is a post about the only baking that I did last month. I was baking macarons with my grand daughters.

Furoshiki

I haven’t baked this week. I just don’t have the mojo. I have been meditating and read about a lot of Eastern practices.

I am learning how to weave. I was weaving a set of place mats. I wove the first one 18 inches long and then I had a synapse disconnect. The other three place mats are 16 inches long. I like longer place mats. The 16 inch long place mats are the perfect size for my tea tray. I mentioned this on my weaving group forum. A member of my weaving forum mentioned how she used her hand woven fabric to carry her lunch to work and then uses the fabric as a place mat. Down the rabbit hole I fell.

I found a beautiful article called Unwrapping The Secret Behind the Art of Gift Giving in Japan. The article has beautiful pictures of traditional bath houses and fuoshiki. The furoshiki shown in this article are beautiful.

I have read that Japanese people are attentive to the care that is put into their packaging. The Japanese actually consider the presentation of a gift or product just as important as what’s inside. All kinds of materials are utilized in Japanese packaging, from wooden boxes, to twine, to washi paper. But the most popular material by far is a traditional wrapping cloth called the “furoshiki”.

According to this website:
The use of furoshiki possibly dates as far back as the Nara period (7th century) and was originally called “tsutsumi”. Back then, it was primarily used to wrap and store important goods. Then during the Muromachi period (1336-1573), the Shogun built a great bathhouse which saw regular use of the tsutsumi. The feudal lords who visited these bathhouses wrapped their clothing in silk tsutsumis printed with their family crests. They did this so their belongings wouldn’t be mistaken for another guest’s. By the Edo period, as bathhouses became increasingly popular among the public, the word “furoshiki”(風呂敷, fu-rosh-ki), meaning “bath spread”, was adopted. Then as cities developed throughout Japan, the furoshiki became a convenient way for merchants to transport goods, gifts, or bento boxes. 

I love the idea of using a fabric to wrap and carry my goods. A lunch wrapped in a hand woven fabric would feel so elegant. It would bring me a sense of peace and well being. I am all about finding peace these days. I have read that what makes a furoshiki a furoshiki is the way that the fabric is knotted.

This image reminds me of a fabric purse that my daughter used for many years. There are many YouTube videos showing how to wrap a furoshiki. I like this video showing how to wrap a bento box. This would definitely make me smile when eating my lunch.

I now have some ideas for weaving cloth for gift giving. Peace, joy and meditation. That’s my theme for the week.

Chanting. It works

Last week, my meditation group explored chanting. I knew about the Gregorian monks who chant. I never heard chanting in person or performed chanting myself.

Dr. Chetana led the meditation with some deep controlled breathing meditation. Then she talked about how to chant.

Deep breath. Oooooom. Breath a couple times. Repeat.

It was interesting to chant as a group. It made me feel closer to the other meditation participants. I could feel the vibration of the chanting in my chest.

I have been practicing my meditation techniques this week. I have been having a very difficult time with clearing my mind with the controlled breathing. I can clear my mind if I listen to my MP3 recording of Patrick McKeown who leads me through the controlled breathing and meditation from the Buteyko Breathing Method. I find that I can concentrate on his instructions. When I try to meditate without a lead voice, I get antsy.

I was very tired today. The controlled breathing meditations weren’t working. I tried chanting. I was amazed! I relaxed after 3 minutes of chanting and started to feel better. I don’t know exactly how long I chanted, probably about 5-7 minutes. I wasn’t tired when I finished that set.

I need to research that “science” behind why chanting work. I was able to concentrate and relax easier with the chanting. It’s a winner for me.

Heirloom and ancient grains 101: Spelt Flour

When I started on my journey to wellness, I was told to be gluten free. I really did not want to go gluten free and completely totally lactose free. I decided to experiment with baking breads with heirloom flours. My first couple loaves were bricks! Then I started to very slowly systematically calculate the ratio of heirloom flour to organic non-GMO bread flour. BINGO! This works.

I thought that I would start talking a little bit about the different heirloom flours and grains that I am baking with at this time. Any of the breads that I ate in the supermarkets that were baked with gluten free flours or spelt flours were like bricks. I avoided spelt flour like the plague. Then I started baking with the heirloom flours and I thought I could definitely bake a better spelt flour loaf of bread than the supermarket types!

This Bob of Bob’s Red Mill

I have been using Bob’s Red Mill Spelt Flour. This spelt flour is 100% stone ground from a delicious, easily digestible ancient grain that is a primitive relative of modern wheat. I have to given a big thumb’s up to the customer service at Bob’s Red Mill. I ordered a case of Kamut, Spelt and Teff flour. When the shipment arrived, one of the bags of flour has exploded in the shipping. Bob’s crack customer service team apologized and sent out a replace bag the next day.

According to Bob’s Red Mill website, spelt flour has a mild flavor that is nutty and slightly sweet. The light texture means your baked goods won’t be heavy or dense, making whole wheat spelt flour a good addition to all kinds of recipes. Spelt is part of the wheat family and does contain gluten. However, some people with a gluten sensitivity report that wheat flour made from spelt grain is easier to digest.

In ancient times, spelt (triticum spelta) was thought to be a gift to the Greeks from Demeter, goddess of the harvest. Early evidence indicates that the history of spelt stretches back to fifth millennium BC in the Near East. It was an extremely important crop in Europe during the Bronze and Iron Ages, spreading widely in central Europe and especially southern Germany and Switzerland. This may be because the durable husk made it an ideal grain for cold climates, as well as easy to store. 

Spelt came to the United States in the late 1800s. It was replaced by common wheat in the 20th century. However, the artisanal and organic movement revived interest in spelt, and spelt flour is widely used in the making of breads, crackers and other baked goods. 

Spelt flour is a good source of fiber. Bob’s Red Mill spelt flour has 5 grams of protein per 1/4-cup serving. The gluten in spelt flour produces delicious yeast bread, and it can be used to replace wheat flour to create homemade pasta. Interested in baking with spelt flour? When you start baking with spelt flour, replace 25% of the wheat flour called for in your recipes with the spelt flour. You can generally substitute up to 50% of the regular wheat flour in many recipes for baked goods with the spelt flour.

I will report back to you all about my newest loaf of bread. I mixed the dough with a sourdough starter, cooked buckwheat groats, a baked sweet potato and 50% spelt flour. The dough feel great right now. The ultimate test is the flavor.

Houston, we are baking bread!

I have no more Artisan bread in the kitchen. I used the last of the four day old loaf to make croutons for my soup. It was time to bake some bread

I decided to bake another loaf of the cooked grains bread by Peter Reinhart. I had some cooked buckwheat groats in the refrig from my last loaf of bread. I fed the sourdough starter last night. It was bubbly goodness this morning, ready for baking.

I decided to go for it and bake a loaf of bread with 25% Kamut flour. I have had success with baking this bread recipe before and I loved the way it tasted. The last loaf had a good rise and a good crumb. Time to experiment.

I measured the temperature of the flours prior to adding any other ingredients. The temperature was 72 F. I estimated that I would need my water to be about 100 degrees to get the dough to 80F before going into the proofing box. I also heated up the cold cooked buckwheat groats.

Houston, we have a small problem. When I weighed out the buckwheat groats they were only half of the required weight for this dough. Time to dig in the refrig. What did I have already cooked? No brown rice. No white rice. Ah! I had half of a white sweet potato. While this isn’t a grain, I love potato breads. I measured the buckwheat groats and the sweet potato. Into the dough it went.

I mixed everything in The Kitchenaid mixer on medium speed for 3 minutes. The dough was soft and a little sticky but not wet. Good. The texture was silky and just right. The dough temperature was 81 degrees! Houston, we are ready for take off!

The dough has a great rise! I am happy. I mean look at that air bubble. This yeast is happy!

Dough in the banneton

The dough has risen a second time in the banneton and looks great. I was reaching for the Kamut flour to prep the banneton, and I grabbed Flax seed flour by mistake. I like how the Flax seed flour enhances the shape of the banneton.

I lost the image of my baked bread! Believe me when I tell you that I was very happy with the bread. The bread was a deep golden brown. The crust was crunchy. The crumb was good and had a nice spring to it. I think that the potatoes added some soft texture to the crumb.

Lessons Learned

1. I can substitute cooked ingredients in the dough. I know have the self confidence to add some other ingredients to my recipe. The white sweet potato added a soft texture to the final loaf.

2. I can cook extra buckwheat groats to keep on hand in the refrig. They lasted about a week in the refrig. I have been baking a loaf of bread each week.

3. I am up to 25% heirloom flour in my bread recipe. I love that I have been able to gradually increase the percentage of heirloom flour in these breads.

4. I realized that my bread baking has become meditative for me. I want to talk about that in a later blog post.

5. I need to post my blog closer to the time when I have baked the bread. I lost some pictures on the Cloud. They are in cyber space feeding cyber souls.

6. My last lesson learned is that I love the combination of the sourdough starter and commercial yeast. I have had good rises on three out of three loaves of bread with this method. This combination of yeasts plus paying attention to the temperature of the flour and dough prior to proofing it, really has paid off. Now, I need to bake my next loaf.

Meditation and Wellness

When I started writing this blog, I told you that my path to baking with heirloom and ancient grains was motivated by wellness. I feel better since I have eliminated all dairy and whey products, oatmeal and barley from my diet. I am tolerating the ancient grains breads much better than the traditional flours. I’ve even ordered more Kamut flakes to make my granola at home.


BODY-MIND-NUTRITION-FITNESS INTEGRATION

Next on my journey to wellness was to begin my meditation course. The Angel Wing is a foundation formed by my wonderful internist, Dr Chetana. Dr Chetana is trained in western medicine and integrative medical techniques. She believes in integrating nutrition, meditation and physical exercise into all of our daily lives. I found this quote on The Angel Wing website which I think summarizes Dr. Chetana’s approach to wellness.

There is more to fitness than well-toned muscles.  There is interconnectedness between the body and the mind.  There is energy moving through the body and the mind that is available through good nutrition and this energy is used of all physical and mental activity.

I have been looking for this meditation course for a long time. I was lucky enough to be in the pilot class. We will meet once a week for four weeks. We will learn two techniques each week. The first technique that we learned yesterday was closing your eyes and concentrating on your breathing. I learned to control my breathing with meditation while going to The Voice Center at Johns Hopkins. I had the best doctor, Dr. Best! Ha! Who knew that a doctor’s real name would be Dr. Best! Marisa was my speech therapist who taught the breathing retraining technique. She was so patient and supportive.

This breathing retraining technique is Buteyko Method. Named after Dr Konstantin Buteyko, the Buteyko Method consists of a series of breathing exercises and guidelines specifically designed to reduce over-breathing (clinically known as ‘chronic hyperventilation’). The simple fact is that many people breathe too much, which alters the natural levels of gases in the blood, reduces oxygen delivery to tissues and organs, and causes constriction of the smooth muscles surrounding blood vessels and airways. This can lead to numerous health problems. Bringing breathing volume towards normal and making the switch from mouth to nose breathing helps to alleviate such health problems. With this training, I learned to control my vocal cord dysfunction better.

I liked the second technique a lot. We would relax with our eyes open. Next I would stare at a candle flame for the count of 5, then look away for a count of 2. Repeat this 5 times. Next I closed my eyes and focused on the image of the flame. I found this technique to be light and relaxing. I will try this technique this afternoon with my lavender candle.

I have begun my path on meditation. I have a batch of Magic Mineral broth, a veggie broth in the crock pot for a noodle bowl for dinner. I am baking a loaf of cooked grains bread today. I better get hopping!

22% Heirloom flour loaf

I could call this post Struan bread, take three. I thought that was boring. What is exciting is that I am now up to 22% heirloom flour in this loaf of bread.

Struan bread, again, begins with the soaker. I thought that some of the buckwheat groat were a little hard and too crunchy in the last loaf of bread. They just didn’t soften enough in the overnight soaker. Last night, I soaked the polenta, quinoa and buckwheat groats in boiling water. I used all the same measured weights. This addition of boiling water really softened the texture of the buckwheat groats.

Time for some math. I went back to my Artisan Bread Baking class on Craftsy.com with Peter Reinhart to review the baker’s bread formula. In that formula, the total weight of the flour is 100%. All other ingredients are a percentage of this weight. My flour weight is 260 grams of bread flour plus 17 grams of whole wheat flour. This yields 277 grams as my 100% of the total flour weight. To bake this loaf of bread, I need 277 grams of flour in combination.

Today, I increased my heirloom flour, spelt flour to 15% of the total weight, 39 grams. I added 17 grams of flax seed flour. Last I added 221 organic King Arthur bread flour. I am being boring in that I am using the same ingredients for each loaf to maintain some consistency in the loaf texture. This way when I reach the point that I can no longer increase the amount of heirloom flour, I will be able to tell from the texture of the bread.

I took the temperature of my flour prior to mixing the dough. My flour temperature for 68 F, not bad for a kitchen with an ambient temperature of 66 F. In theory, if I want my dough to be 80 F before going into the proofing box, I needed to get my soy milk warmed up. I warmed up the soy milk to 100 degrees. I added all the ingredients into the bowl and mixed. After 4 minutes of manual mixer kneading, the dough was 75.7 F. Not too bad.

I kneaded the dough for about 3 minutes and this manual manipulation increased the temperature to 76.6 F I thought that this would be the best that I could get prior to getting the dough into the proofing box. Three stretch and turns and then into the proofing box at 82 with a humidity tray.

My dough doubled in size in 2 hours. Not bad. I shaped my loaf. Last time, I had a difficult time getting my loaf out of the pan. I sprayed the pan with olive oil and dusted it with spelt flour. I egg washed the bread and sprinkled it with Trader Joe’s Everything but the Bagel topping. If you haven’t tried this topping, you need to run to Trader Joe’s and buy it! I see that King Arthur’s has a similar product and it is less expensive. I may need to buy that one for comparison.

Everything was looking good. I took the dough out of the proofing box. It was a little damp. The pan slipped out of my hands! PLOP! Bottom down on the table. The loaf deflated by half. CRAP! Back into the proofing box it went. I was crossing my fingers that it would rise again.

Here’s the dough ready to go into the oven. It did rise a third time. It was lopsided but it did raise.

Here’s the loaf of bread. It did rise and have a good crumb. It was not crumbly. The Everything but the Bagel topping was good. The poppy seeds give the bread a little bit of sweetness.

Lesson Learned

1. The Struan Bread was good with 22% heirloom flours. This bread rises even with the non-traditional flours at this proportion.

2. Don’t drop the pan! The dough had a great rise. It was probably the best rise I have gotten so far. I was happy that the dough did rise the third time.

3. I will continue to measure the temperature of my flour and adjust the water temperature so that my dough starts out at a warmer temperature. It decreased the proofing time.

4. I need to keep the temperature of my proofing box at 82-84 degrees. I am also using the humidity tray. I like my proofing box.

I think that my next loaf will be the cooked grains loaf from the Artisan Ancient Grains class. I have gotten good results from the Struan recipe. Time to move onto another type of bread.